Magic 8 Ball: How to Make Your Own Fortune-Telling Toy

Have you ever wished you could create your very own Magic 8 Ball? Well, you’re in luck! With a few simple materials and a little creativity, you can make a personalized fortune-telling toy that’s just as fun (and mysterious) as the original. Whether you’re looking for a fun weekend project or a unique gift idea, this DIY Magic 8 Ball is sure to delight.
What You’ll Need:
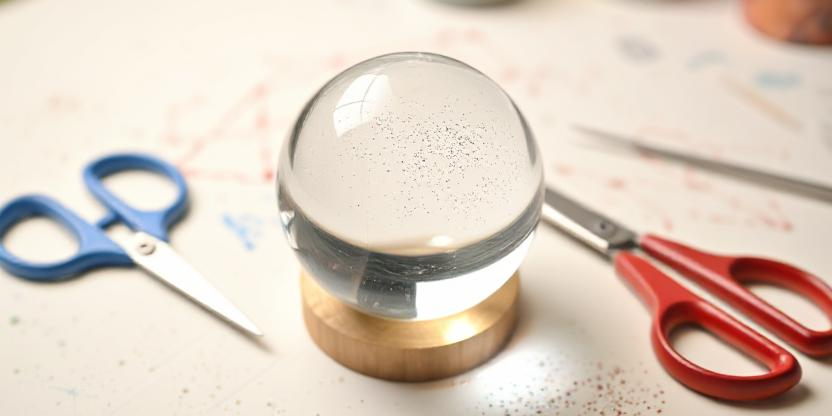
- A clear plastic or glass ball (like a large ornament or a clear plastic sphere—available at craft stores or online).
- Water (to fill the ball).
- Blue food coloring (to mimic the iconic Magic 8 Ball liquid).
- A 20-sided die (d20) or a small piece of paper to write your answers on.
- Permanent marker or stickers (to label your answers).
- Super glue or a strong adhesive (to seal the ball).
- Optional: Glitter or small decorative items to add some sparkle.
Step 1: Prepare Your Answers
The Magic 8 Ball is famous for its 20 cryptic responses. Grab your 20-sided die or cut a small piece of paper into 20 sections. Write down the following classic answers (or create your own!):
Affirmative Answers:
- It is certain.
- It is decidedly so.
- Without a doubt.
- Yes, definitely.
- You may rely on it.
Non-Committal Answers:
- Reply hazy, try again.
- Ask again later.
- Better not tell you now.
- Cannot predict now.
- Concentrate and ask again.
Negative Answers:
- Don’t count on it.
- My reply is no.
- My sources say no.
- Outlook not so good.
- Very doubtful.
If you’re using a d20, assign each answer to a number. If you’re using paper, fold each answer into a tiny square.
Step 2: Assemble the Ball
- Fill the Ball with Water: Fill your clear plastic or glass ball about 80% full with water. Leave some room for the die or paper to move around.
- Add Blue Food Coloring: Add a few drops of blue food coloring to the water to give it that classic Magic 8 Ball look. Stir gently if needed.
- Add Glitter (Optional): For a little extra magic, sprinkle in some glitter or small decorative items.
- Insert the Answers: Drop your 20-sided die or folded paper answers into the ball.
Step 3: Seal the Ball
Carefully seal the opening of the ball with super glue or a strong adhesive. Make sure it’s completely airtight so no water leaks out. Let it dry completely before moving on to the next step.
Step 4: Create the Exterior
- Paint or Cover the Ball: If your ball isn’t already black, you can paint it with black acrylic paint or wrap it in black paper or tape. Leave a small window clear so you can see the answers floating inside.
- Add the Classic "8" Logo: Use a white permanent marker or a sticker to draw the number "8" on the front of the ball, just like the real Magic 8 Ball.
Step 5: Shake and Ask!
Your DIY Magic 8 Ball is now ready to use! Hold it in your hands, ask a yes-or-no question, and give it a shake. Watch as the die or paper floats to the top, revealing your answer.
Tips for Customization:
- Personalized Answers: Add inside jokes or personalized responses to make your Magic 8 Ball unique.
- Themed Ball: Use different colors or decorations to match a specific theme (e.g., gold glitter for a "fortune teller" vibe).
- Gift Idea: Make a few extra Magic 8 Balls to give as gifts to friends or family. They’ll love the thoughtfulness and creativity!
Conclusion:
Creating your own Magic 8 Ball is a fun and easy project that combines creativity with a touch of nostalgia. Whether you’re using it to make decisions, entertain friends, or just add a little magic to your day, your DIY fortune-telling toy is sure to bring a smile to your face. So, what are you waiting for? Gather your supplies and start crafting—your future (and your fun) is in your hands!

